In the previous post, I discussed two “phases” that I saw in myself in terms of my genealogical development. There is the “collection” phase where you are gathering the information for your family tree, perhaps regardless of a family line or specific problem. When I started out, I spent hours and hours at libraries and on websites gathering what I call the “low-hanging fruit” or the easier to find records for family groups and my direct line ancestors. Those records often include censuses, death certificates, obituaries, tombstone photos, etc. Depending on the area where your research is located, some of these may be easier than others.
In terms of research planning when working in the “collection” phase, when I was in this phase, things were a little bit different than they are now, but the planning portion is pretty much the same. The difference is in how we might access those records and collect them. I started research in 2000. Ancestry as a research website was in its early stages so a large portion of my early collecting was done at local public libraries, local cemeteries, the Family History Library, the local branch of the National Archives (where you could view the census on microfilm before it was digitized and available online).
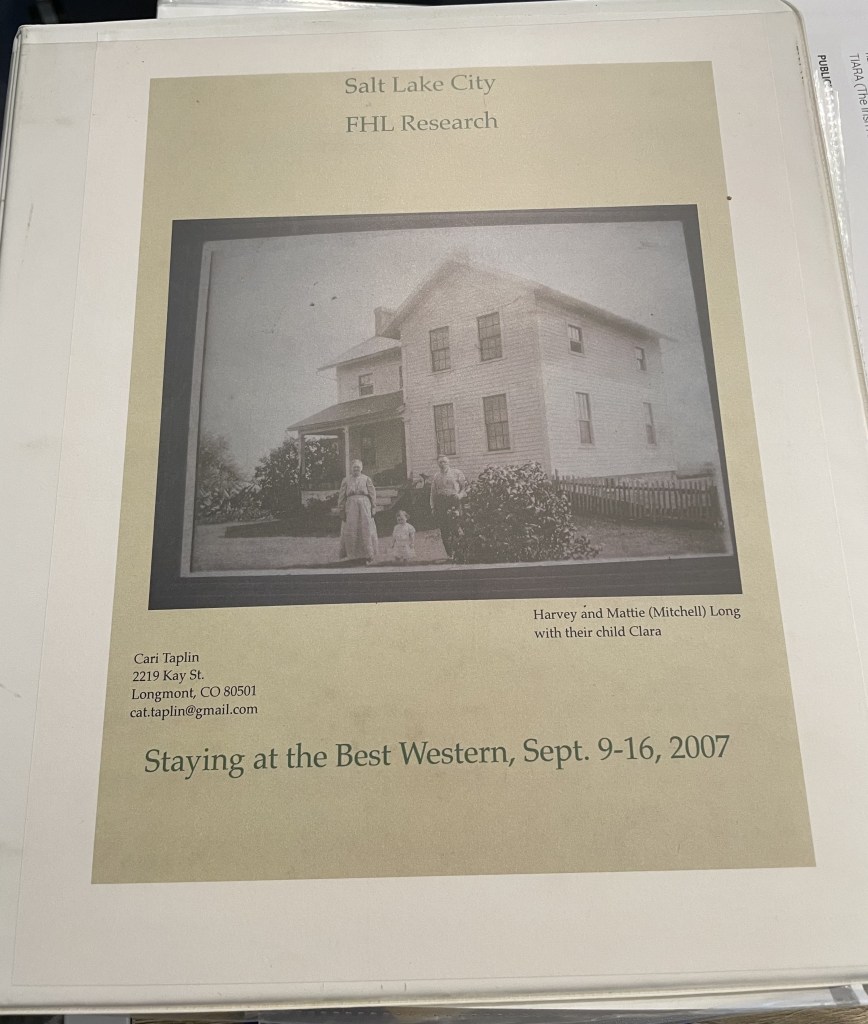
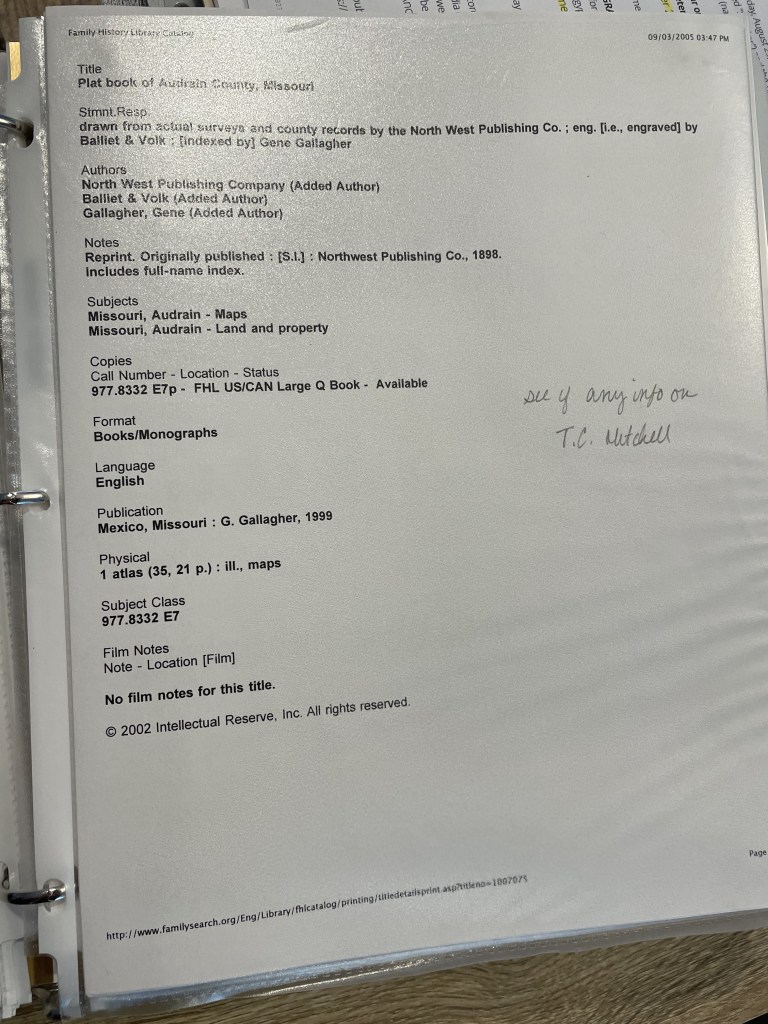
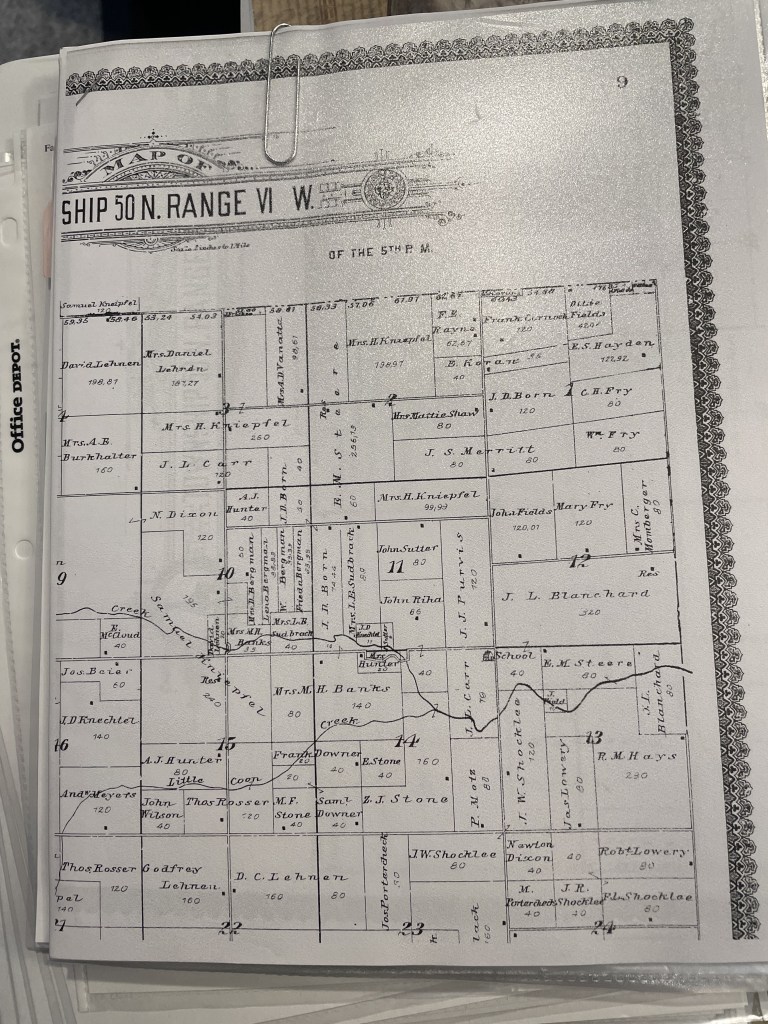
When preparing to visit any library, I visit that library’s catalog to determine what sources I plan to use to find records for my family tree. Remember, I’m in the “collection” phase here, so these will be a lot more broad-purpose searches. My tasks might be something like “find the obituary for Thomas Mitchell” or “Find Thomas Mitchell in the 1900 census.” When I started, I would print out that catalog item and put it in a sheet protector in a binder specific to that repository. Then, when I visited the repository, I used my binder as a guide or a to-do list and would complete each item. Back then, you made photo copies. We didn’t have scanning or photography (well not conveniently), when I started. I would tuck the photocopies into the sheet protector that contained the original catalog entry. Keeping the photocopy and the catalog entry together allowed me to go back later and create the citations for the items found.
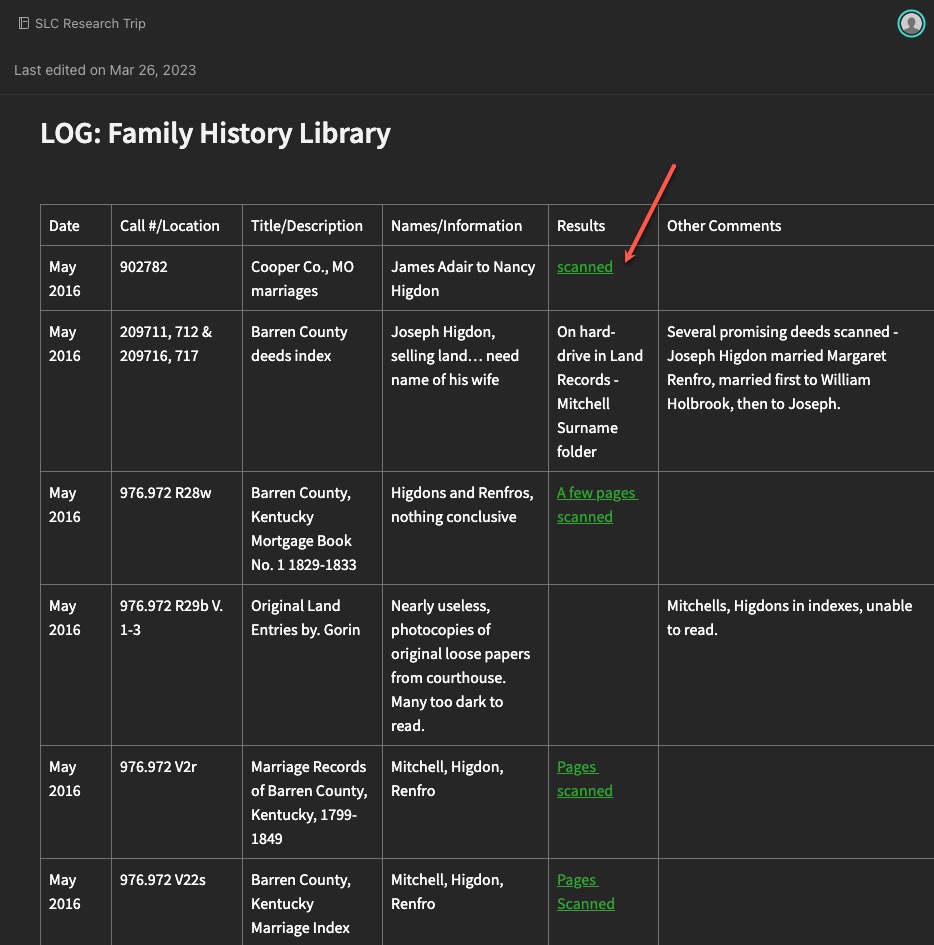
Ok, so that isn’t exactly the same system I used today when I’m “collecting.” I still visit the catalogs, but many items (not ALL) I’m looking for are now digitized and available online from home. So, my plan consists of a spreadsheet or Evernote note with links to databases, and the tasks, rather than a printout. If items are only available at the repository, I still copy the link into my plog, and then retrieve it next time I’m at that repository. I then collect my “copies” (scans or phone photos these days) and add them to Evernote where I can link them to the “plog.”
You might still like to have printouts. You might also prefer to only work in digital. And you might be a combination of both like I am. That doesn’t matter. What matters is that you have a system for keeping track of what you want to research, what you expect to (hope to) find in a particular source, and then what you found.
Next time, we will look at some examples of more directed research plogs based on specific research questions and projects.
