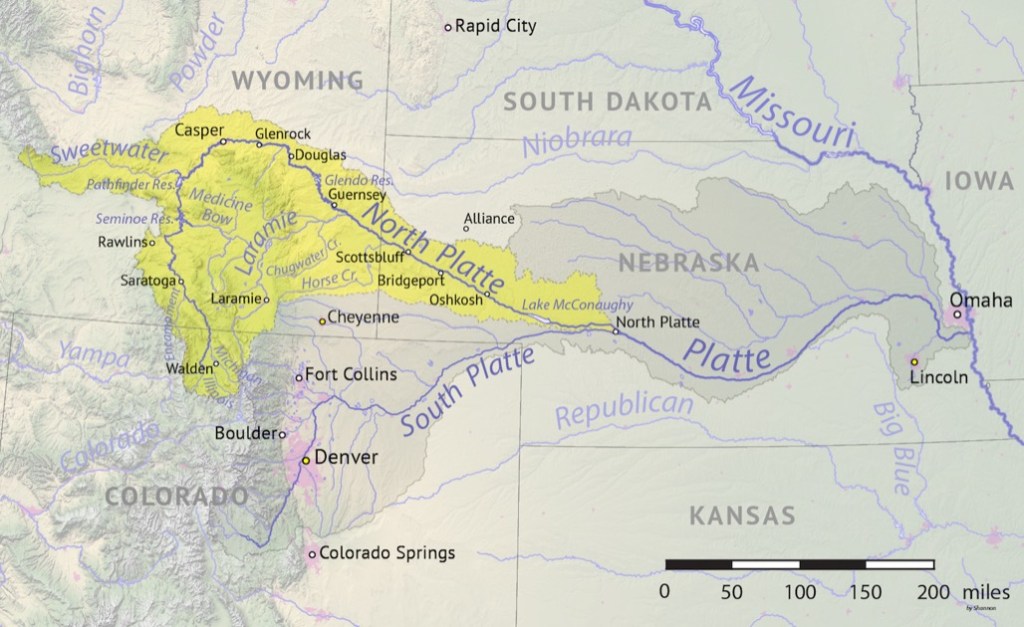
Wyoming is a big state, with big counties. The state only has 23 counties, and they are all fairly large in size.
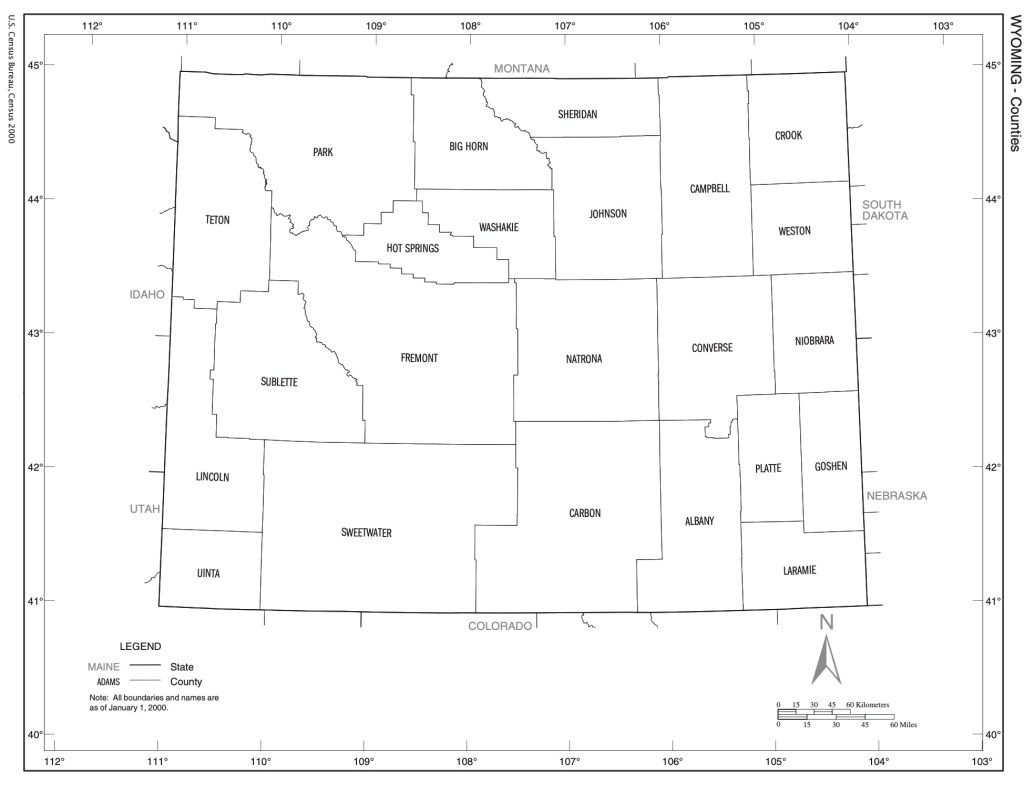
When we moved to Wyoming in 1988, we lived in Big Horn County, right up near the Montana border, in a little town called Cowley. When I went off to attend the University of Wyoming, we lived in Laramie, which is in Albany county, not Laramie County. My husband was born in Cheyenne, which IS in Laramie County… confusing, I know.
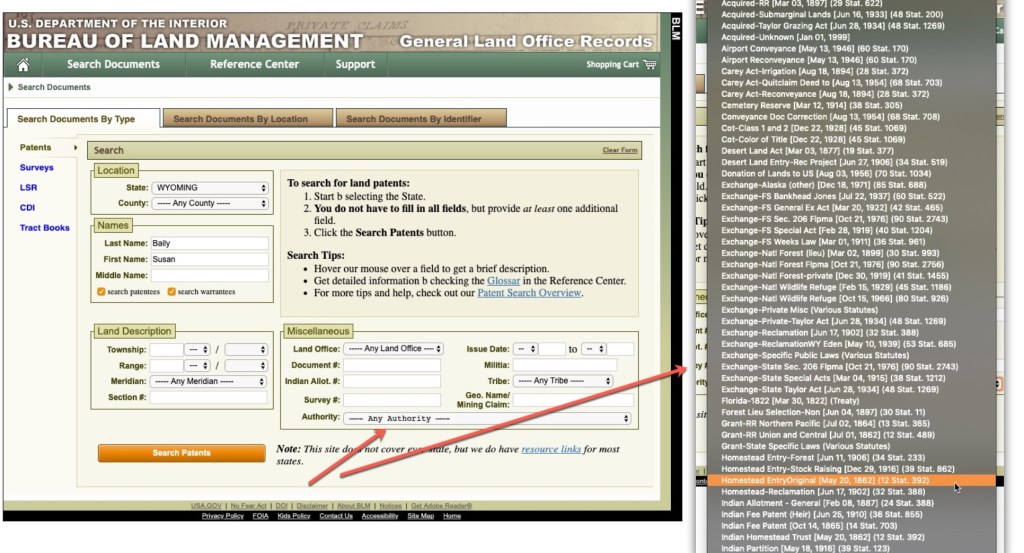
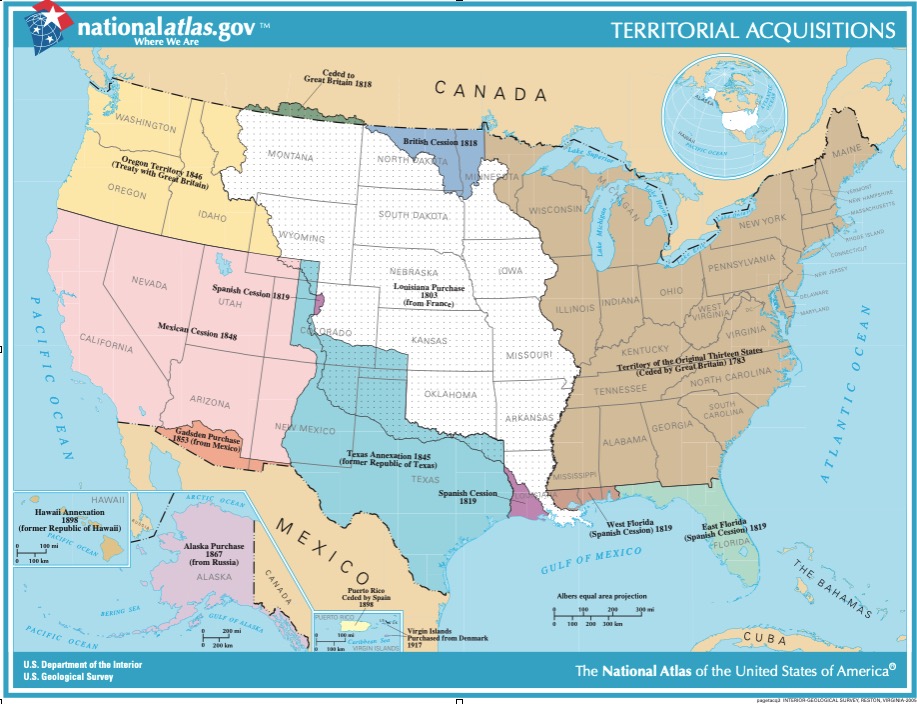
The land in Wyoming was part of the Public Land system. This was land, once obtained by the federal government was then sold by cash sale or given to settlers through various programs such as the Homestead Act. Once the land was distributed by the federal government it became the property of the individual. You can find the first disposition of the land at the Bureau of Land Management’s General Land Office website.
When you search for documents at the BLM website, you can search by the “authority” or the act by which the land was distributed.
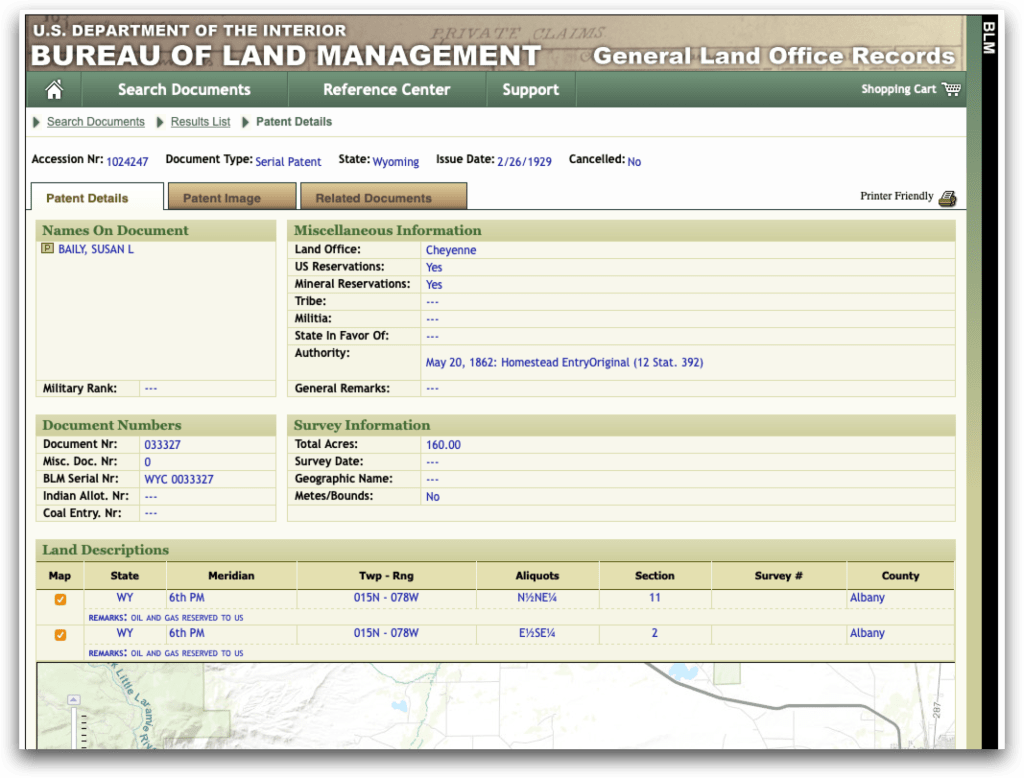
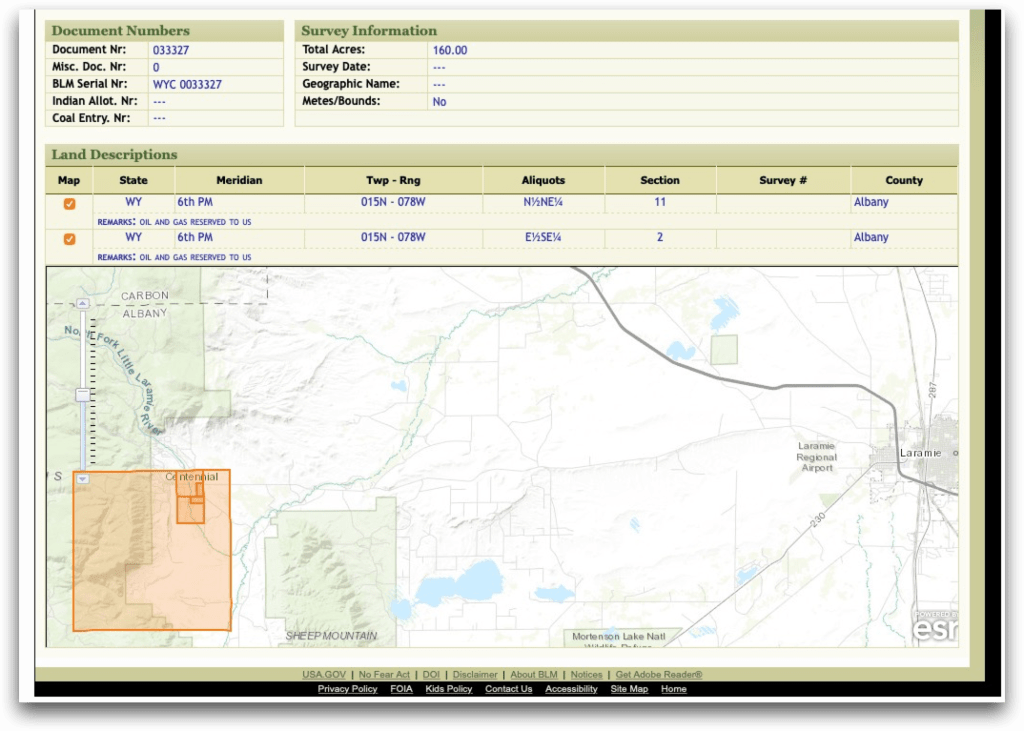
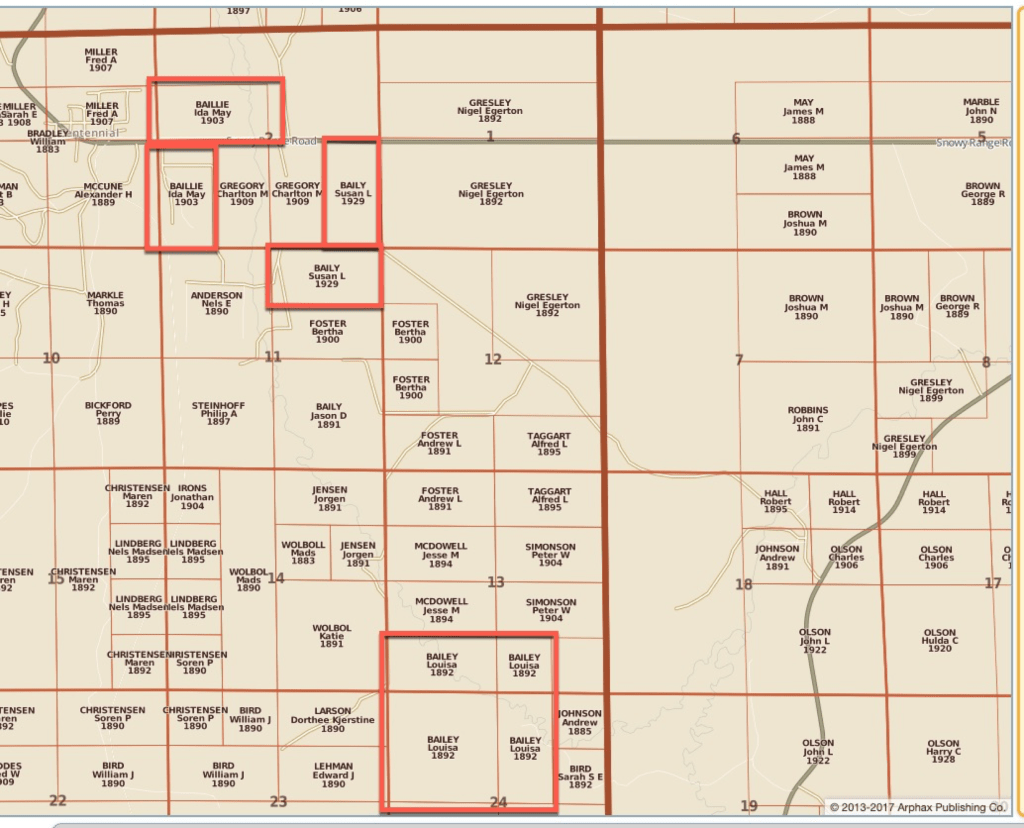
There was a female homesteader in Albany County named Susan Baily. She obtained 160 acres in two sections.
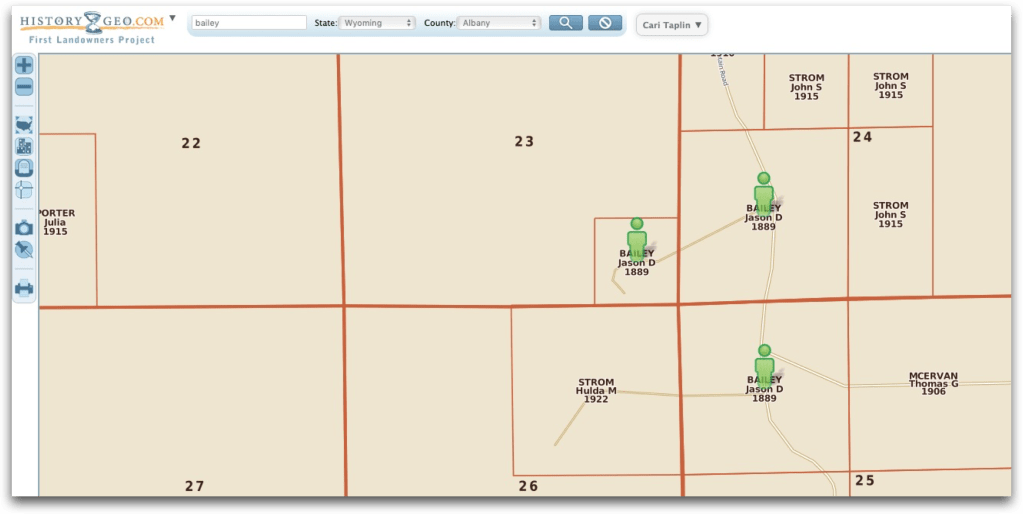
There is a great site called HistoryGeo (requires subscription) that has a “First Landowners Project” where they have pulled all of the individuals listed in the BLM database and placed them on maps beside each other. This allows you to see the neighbors, at least at the time of obtaining the land from the federal government. Looking for Susan Baily in this project showed me that several members of the Baily family obtained land near each other in Albany County.
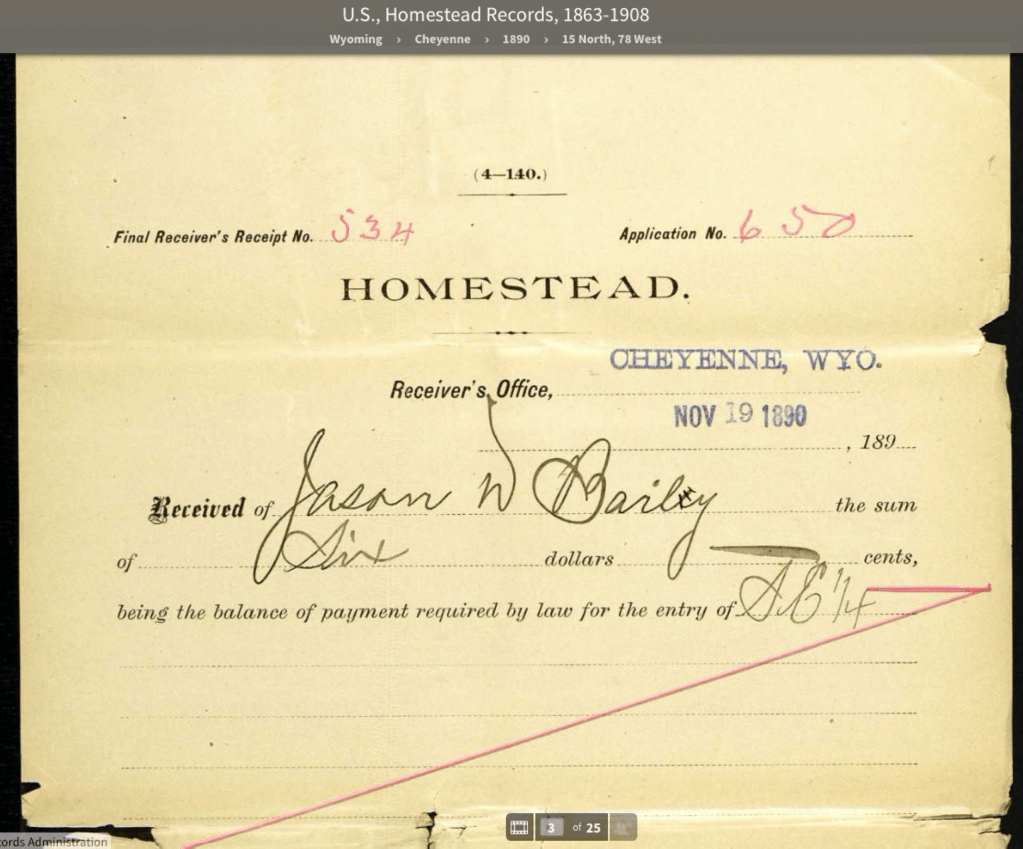
Homestead records for ten states have been digitized and are available on Ancestry: Alaska, Arizona, Illinois, Indiana, Iowa, Nebraska, Nevada, Ohio, Utah, and Wyoming. At that database, I was able to locate Jason Bailey’s homestead packet.
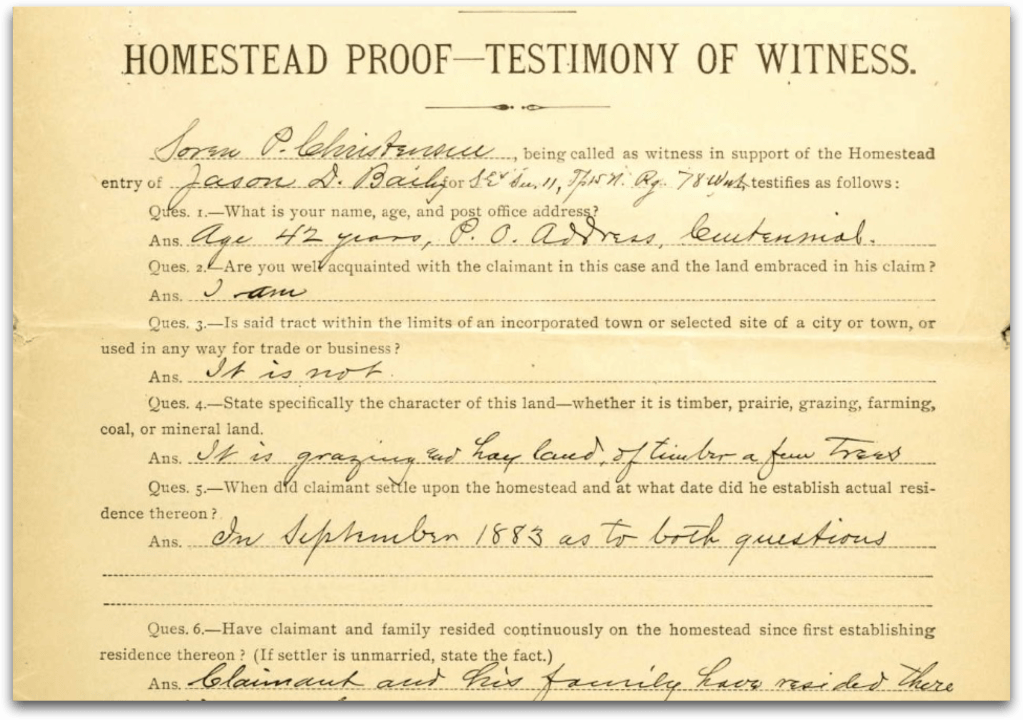
In those homestead packets you often find genealogically useful information such as “I am a Native born citizen of the United States over the age of twenty one year and the head of a family consisting of wife and three children.” And that the land “is grazing and hay land, of timber, a few trees.”
Once the land is obtained by the individual, and then later sold, those transactions are handled by the counties. Many of their records have been microfilmed by FamilySearch. Or contact the county to obtain records.
I’ve created an Ancestry Family Tree for Susan Baily as I work on her project. You can view it here.


